
Useful Ideas for Choosing The Best Bathroom Window Blinds
Bathrooms, kitchens, laundry rooms, and other crucial spaces within our homes are likely to give us a hard time, particularly when it comes to finding a suitable window treatment for these spaces. Since, of course, these areas are highly moisture-prone, you can’t possibly make use of any regular window covering and there does exist a dire need for watchful selection in this regard.
Fabricated window coverings aren’t, under any circumstances, a good idea for bathroom spaces either, and many blind types also cannot provide the required level of efficiency. This makes things even more difficult, particularly if coverage or, let’s say, window décor is also an unavoidable requirement of yours.
So let’s not remain in the dilemma of choosing the right window treatment for your bathrooms anymore and get down to looking for potential solutions. Having that said, we’re once again at your service to help you choose the best and most useful blinds for your windows, those that won’t leave you to deal with any of the problems caused by excessive moisture.
List Of The Best Bathroom Blinds
Here are some of the best blind recommendations for bathroom spaces and shower stalls.
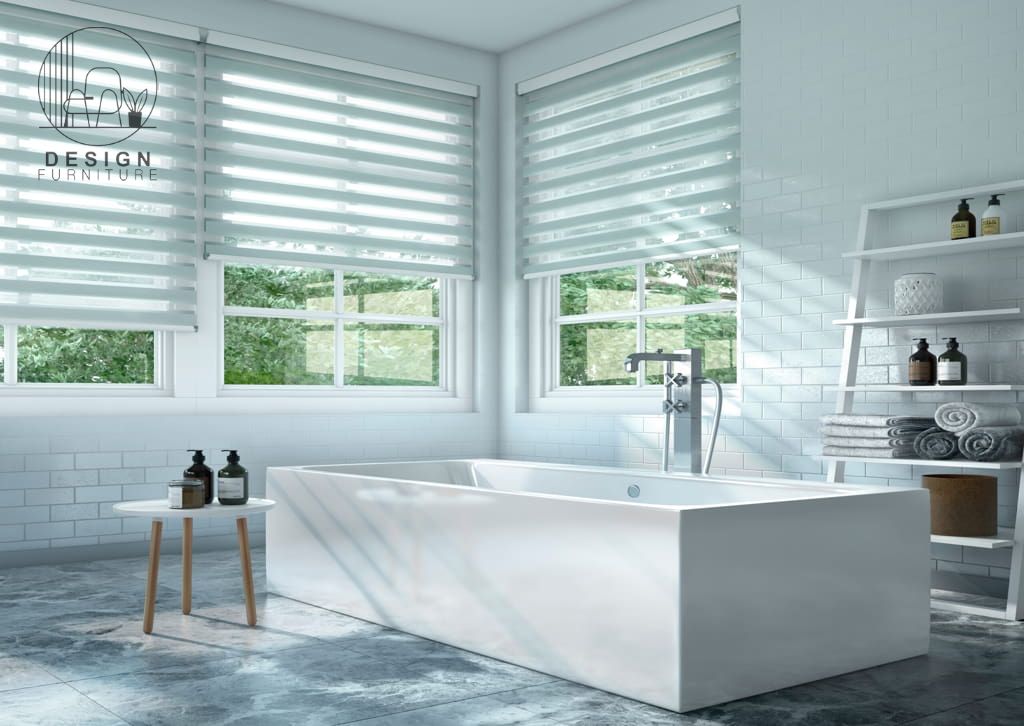
1. Cellular Blinds
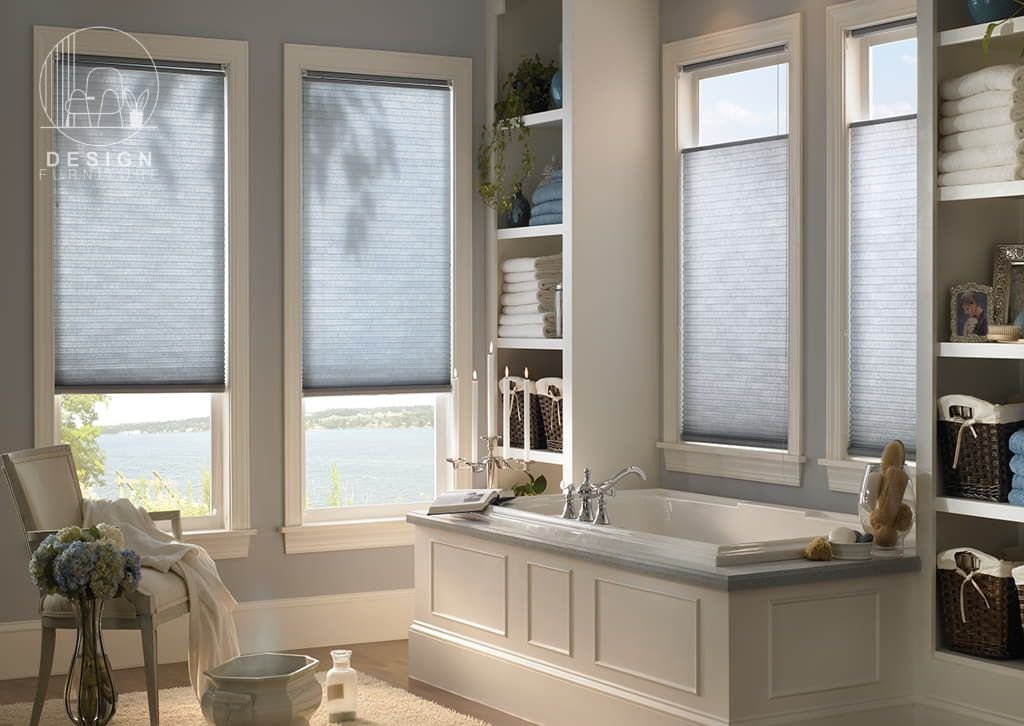
Often called honeycomb blinds too, these shades not only offer the most flawless privacy but are also great at bringing in most of the natural light. They are the easiest to deal with, and you can have both partial and full window coverage with them. Besides, the most fundamental significance of these shades lies in their sleek and suave beauty.
They come in a number of attractive color profiles, and you can easily find both neutral and bold options to go well with your favorite decor vibe of the bathroom interior.
2. Roman Blinds
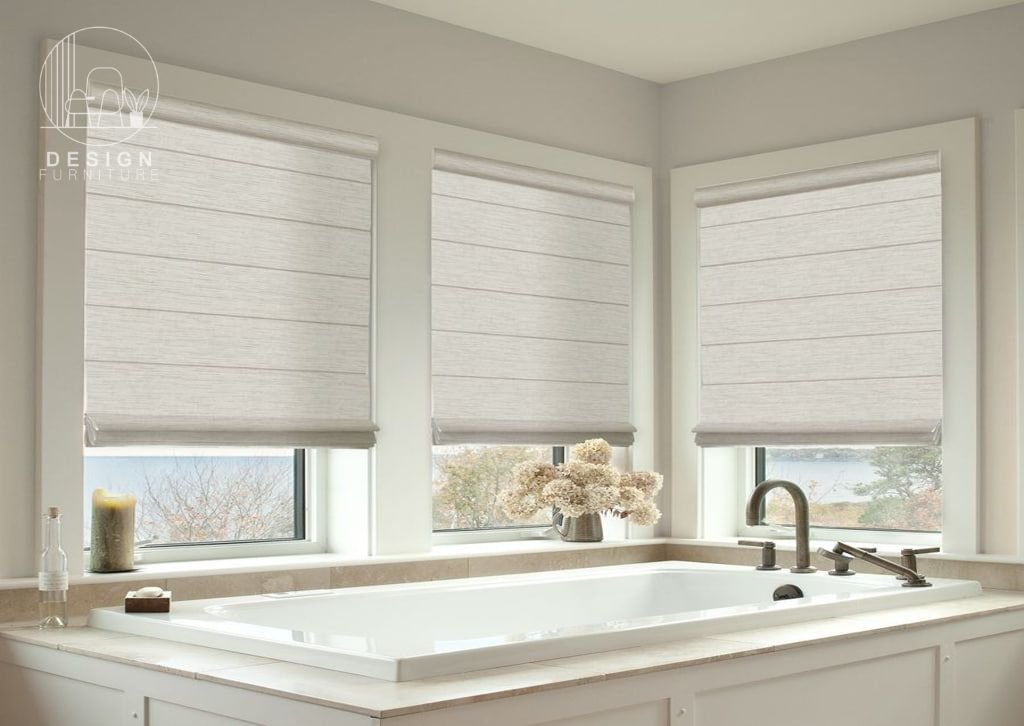
Roman window blinds are both stylish and serviceable at the same time, and they also offer a great deal of longevity. These incredible blinds can be either used to achieve soft ornamentation or to make bold style statements. Besides, they also let in greater amounts of natural light, so you get the light divergence to play with as well as give your bathroom décor a classy look.
Over and above, roman blinds also provide the additional perk of noise reduction, and they are an excellent option when it comes to moisture resistance, as well. Besides, you get tones of color options to choose from.
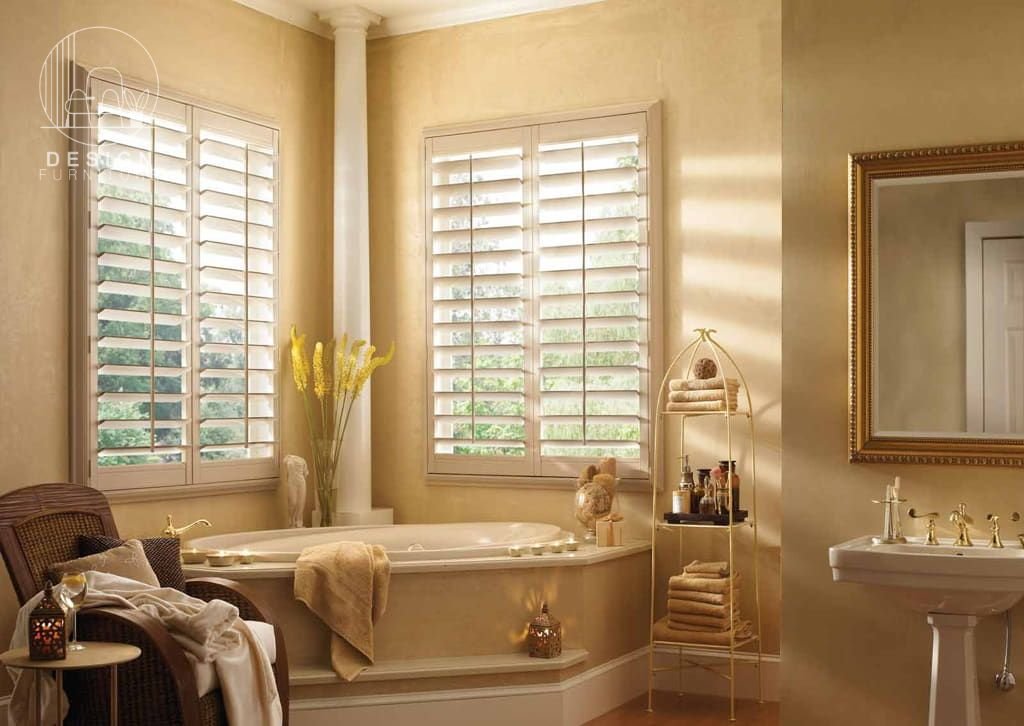
3. Faux Wood Blinds
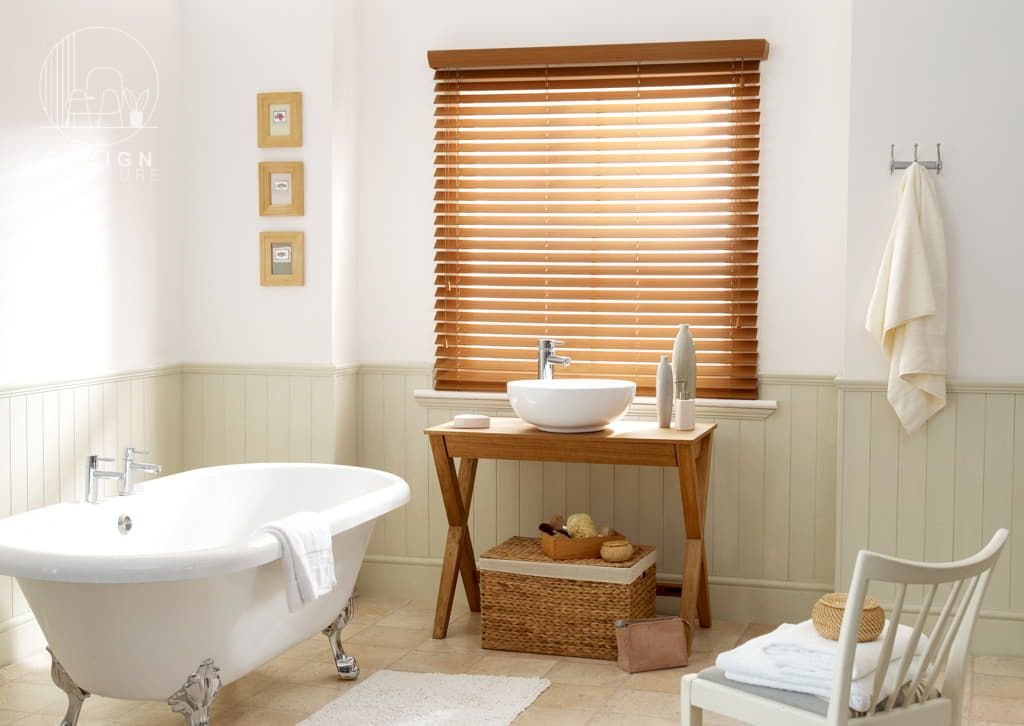
Faux Wood Blinds combine the aesthetics of wooden blinds with high resistance and result in an excellent performance. Since wooden blinds can’t possibly be used within bathrooms due to moisture problems, faux wood blinds are just the perfect alternative to settle for. These blinds are an incredible option for the concerns of moulding and mildewing, and they won’t crack or warp either.
Faux wood blinds are a wonderful window treatment option if you’re into the classic beauty of wooden surfaces and treatments. They are also the easiest to clean and maintain, and you can also opt for certain additions, such as decorative cloth stripes.
4. Woven Wood Blinds
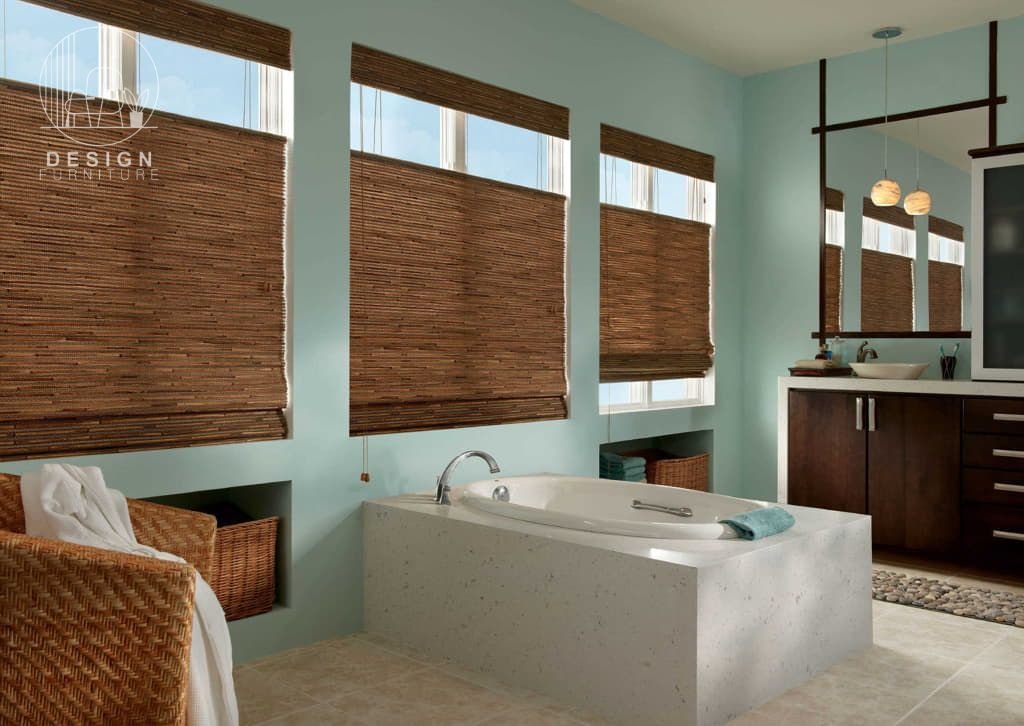
Woven wood blinds are another great choice of window treatment for your bathrooms. They give an all-natural and pleasant wooden look and are a wonderful way to add a visual and textural appeal to the bathroom décor. The light entering the bathroom also gets nicely filtered to a delightful extent, too, with no compromise over privacy protection.
There are certain specialized versions available that provide even more amazing control over the incoming light as well as privacy, such as the Top Down Bottom Up style. Besides, you can also have the addition of a blackout liner. These blinds will last longer and will serve you with brilliant performance all along.
5. Vinyl Blinds
Vinyl Blinds are amazingly sturdy, resilient, and a heavy-duty option for bathroom window treatment. They give off a nice and classy look, and you won’t need to be concerned about any of the damaging factors affecting your blinds in any way. If you’re a fan of fabric blinds and can’t possibly use them within the bathroom space, then vinyl blinds are an excellent choice to settle for.
Read More: Common Issues With Window Blinds: How To Fix?
They provide impressive privacy sustenance, something hard to achieve with any of the fabric covering. Also, they give a well-finished and harmonized look to the whole bathroom interior and you won’t face a single difficulty in matching them to all your sanitary stuff, either.
To Sum Up
These were some of our Useful Ideas for Choosing The Best Bathroom Window Blinds, which are aimed toward both practicality and aesthetic uplifting. An accurate window treatment selection for the bathroom or similar moisture-prone spaces is the most likely to become a genuine concern since you can’t add just about anything in these areas. Therefore, we’ve gathered a bunch of favorable ideas to get done with the blind selection with no inconvenience.
You can easily match both your styling as well as functional requirements with these listed blinds and can dress your bathroom windows in a nice yet trouble-free manner.
Frequently Asked Questions (FAQs)
There are multiple useful options you can consider when looking for a suitable bathroom window treatment. Some of the great recommendations are Roller Shades, Faux Wood Blinds, Vinyl Shutters and Cellular Shutters, since the idea is to get something which is water-resistant and at best waterproof.
Roman Window Blinds are just the option to go for, if you’ve got frosted bathroom windows and are concerned about your privacy maintenance. That’s because most of the fabricated blinds or window treatments fail to withstand the moist conditions of bathrooms and shower stalls.
Zebra Blinds are indeed a great option to consider as a bathroom window treatment, since they don’t get affected by moisture. Besides, they offer the best control over incoming light and you can easily diverge or block it according to your requirements. Also, Zebra blinds are excellent at maintaining privacy.
Start by filling a big tub or container with warm water and mix in a few squirts of liquid soap or detergent. Place your roller blinds in the tub and let them sit for the next 30 minutes, and never more than that, as they can get damaged. You, might as well, need to scrub a bit at the problematic parts of your blinds, such as those that are really grimy or greasy.


