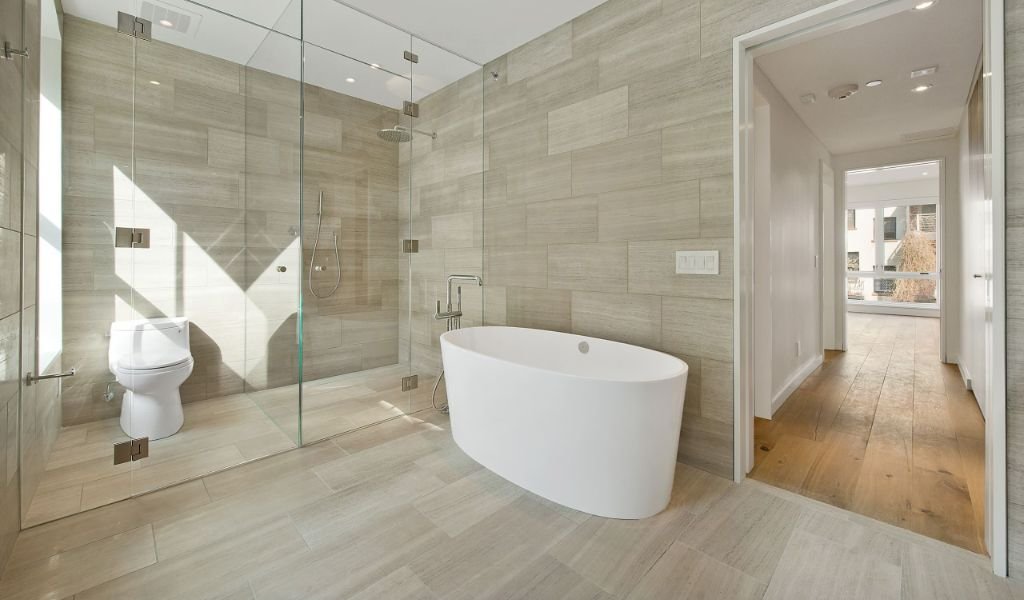
How To Fit Bathroom Wall Panels?
Installing bathroom wall panels is a terrific method to improve your bathroom’s appearance and use while also making it simple to clean and upkeep. These panels come in a range of patterns and materials to fit your tastes, including PVC, acrylic, and laminate. In this guideline by Design Furniture, we have elaborated simple and easy methods for fitting bathroom wall panels.

Advantages Of Fitting Wall Panels On Bathrooms
Fitting bathroom wall panels provide various appealing benefits, making them a popular choice among homeowners.
1. Durable And Waterproof
These panels are more durable and waterproof alternatives to typical wall coverings such as tiles or paint. This natural moisture resistance makes them perfect for bathrooms, where high humidity levels and regular exposure to water can lead to mold growth and damage to other materials.
2. Easy To Install
Bathroom wall panels are a time and money-saving choice for both DIY enthusiasts and experts because they are reasonably simple to install. Their interlocking constructions or use of adhesive streamlines the installation procedure by doing away with grout and the accompanying upkeep.
3. Aesthetic Appeal
The variety of shapes, patterns, and colors available for these panels enable homeowners to create a variety of aesthetic looks, from modern to traditional. They can imitate the look of more pricey materials like marble or wood while being more practical and inexpensive.
4. Hygienic And Simple To Maintain
The smooth surface of the wall panels is also hygienic, simple to maintain, and requires no work. In restrooms, where cleanliness is crucial, this convenience is especially helpful.
Step-By-Step Guide To Fit Bathroom Panels On Wall
Here is a thorough how-to for installing bathroom wall panels, step by step:
Gather Materials
Materials you will need:
- Bathroom Wall Panels
- Adhesive or panel adhesive
- Measuring tape
- Spirit level
- Pencil
- Fine-tooth saw or panel saw
- Utility knife
- Sealant and caulking gun
- Panel trims (If desired)
- Sandpaper (If necessary)
- Screws and wall plugs (for heavier panels)
- Safety Equipment (gloves, goggles, mask)
Step 1: Prepare The Surface
Make sure the walls of your bathroom are tidy, dry, and clear of any dust, dirt, or loose paint. Sand the surface to make a base that is smooth if it is uneven. Before continuing, fix any cracks or holes in the walls.
Step 2: Measure And Plan
The size of the wall you intended to cover with bathroom panels should be measured. For cutting and fitting, buy panels that are a little bigger than the measurements. When planning the arrangement, take into account corners, edges, and impediments like outlets and windows.
Step 3: Cut Panels To Size
Mark the panels with a pencil to indicate where they need to be cut using the measurements from above. To precisely cut the panels, use a panel saw or a fine-tooth saw. A utility knife can be used if the panels are very thin or flexible, but make sure the cuts are clean and straight.
Step 4: Apply Adhesive
Apply the glue to the back of the panels according to the manufacturer’s recommendations, taking into account the type of panels and adhesive you’re using. Apply the glue uniformly, leaving a 1-inch space around the edges.
Step 5: Position The Panels
Align the panel’s bottom edge with the floor and its side edge with the neighboring wall, beginning at a corner. To make sure the panel is plumb (vertically straight) and level, use a spirit level. To bond the panel with the adhesive, press it firmly against the wall.
Step 6: Secure Panels (if necessary)
You can use wall plugs and screws for heavier panels or to add more support. Wall plugs should be inserted after drilling holes through the panel and into the wall, and the panel should then be secured with screws. Inspect the screws to make sure they are flat with the panel surface.
Step 7: Continue Installing Panels
For the remaining panels, repeat steps 4 through 6 while making sure there are no gaps between the panels. Panels may need to be trimmed as necessary to fit around windows, outlets, or corners.
Step 8: Install Panel Trim (If desired)
Panel trims can give the corners and edges of your bathroom wall panels a finished appearance. Utilizing screws or adhesive, attach trims as directed by the manufacturer.
Step 9: Seal The Edges
Use a premium bathroom sealant along the panel’s edges and in any gaps where they meet the floor or ceiling to stop moisture from leaking behind the panels
Step 10: Finish The Seams
Use the sealant to close up any apparent gaps between the panels. For a tidy finish, smooth the sealant with your fingers or a caulk smoothing tool.
Step 11: Clean And Maintain
When cleaning the panels after installation, use a soft cloth and a moderate, non-abrasive cleaner. Avoid using anything abrasive that might scratch the surface. The appearance of the panels will be preserved with regular washing.
Step 12: Enjoy Your New Bathroom
You can enjoy your newly remodeled bathroom space because the panels have been placed and properly sealed. The panels will offer a modern and simple-to-clean surface that will improve the building’s overall appearance and feel.
Conclusion
Make any necessary adjustments to these instructions to suit your unique circumstances and the sort of panels you are using, because every bathroom remodeling is different. For a successful installation, make sure to always adhere to the manufacturer’s instructions regarding panel handling and adhesive usage. It is wise to get professional assistance or guidance from the manufacturer if you’re unsure about any stage.


