
Can You Put Bathroom Wall Panels Over Tiles?
Choosing how to replace old tiles during a bathroom renovation can be both a gratifying and difficult task. Installing bathroom wall panels over already existing tiles is a common strategy. This method provides a quick and affordable option to update the appearance of your bathroom without requiring substantial tile removal or renovation. The viability of placing bathroom wall panels over tiles, the advantages of this strategy, and the step-by-step procedure involved will all be covered in this article by Design Furniture.
Feasibility And Considerations
The practice of installing bathroom wall panels over already installed tiles is legitimate and has grown in popularity for several reasons. Before using this strategy, you need to take some crucial things into account.
1. Tile Condition
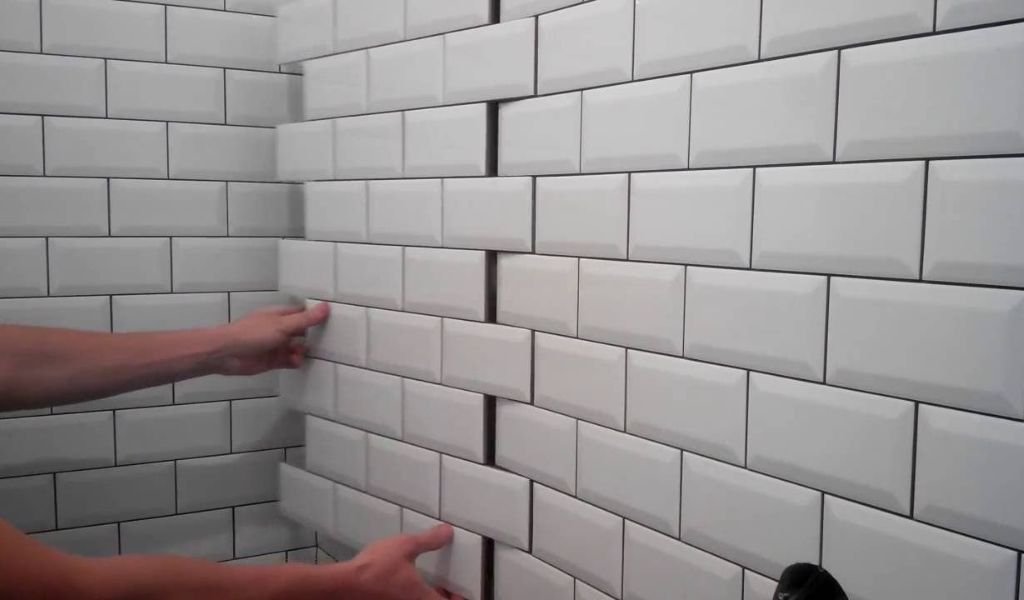
An important factor to consider is how well the current tiles are maintained. It might not be advisable to put wall covers directly over damaged, loose, or uneven tiles. The stability and integrity of the tiles must be evaluated.
2. Surface Preparation
An installation’s success depends on proper surface preparation. Grease, filth, and mold must not exist on the tiles, they must also be dry and clean. A moderate sanding of the tiles can improve the adhesive bond.
3. Panel Material
The panel’s material selection is important. There are several choices, including laminate panels, PVC, and acrylic. These substances are made to withstand moisture and offer a tough surface.
4. Hygienic And Simple To Maintain
The smooth surface of the wall panels is also hygienic, simple to maintain, and requires no work. In restrooms, where cleanliness is crucial, this convenience is especially helpful.
Benefits of Installing Wall Panels Over Tiles
1. Time and Cost Savings
It is not necessary to remove tiles, which can be time-consuming, dirty, and expensive, by installing wall panels over them. Because removing tiles frequently requires expert labor, it also saves on labor costs.
2. Minimal Disruption
A lot of dust and debris may be created when removing tiles. If you want to avoid a significant makeover, installing panels over tiles is a more practical option because it causes less disturbance.
3. Moisture Resistance
The moisture resistance of high-quality wall panels makes them appropriate for bathroom settings. They help in preventing water damage and mold formation on the underlying walls.
4. Aesthetic Update
Wall panels are available in a variety of designs, colors, and patterns. They give your bathroom a modern, updated appearance, enabling you to achieve the desired aesthetics without having to deal with the convenience of retailing.
Step-By-Step Installation Process
Step 1: Prepare The Tiles
To begin, thoroughly clean the tiles to get rid of any dirt, grease, or soap scum. Before continuing, make sure the tiles are dry. To give the tiles a slightly rough surface, gently sand them with fine-grit sandpaper. This improves how well the adhesive adheres to the tiles.
Step 2: Measure And Cut Panels
Be sure to take precise measurements of the bathroom walls. Use appropriate cutting instruments to cut the panels to the required dimensions after transferring the measurements to them. Consider any openings, such as those caused by windows, doors, or fixtures.
Step 3: Apply Adhesive
Choose a premium adhesive that is suggested for the particular kind of wall panels you are employing. As directed by the manufacturer, apply the glue to the panel’s back. For an equal application of adhesive, use a notched trowel. Work in modest increments to avoid letting the adhesive dry out before installing the panels.
Step 4: Install The Panels
Starting from a corner, carefully place the first panel at the base of the wall. Ensure the panel is leveled and in alignment before pressing it firmly onto the tiles. To keep constant spaces for expansion between panels, use spacers. Install the panels one at a time.
Step 5: Trim And Shape
You might need to trim panels to fit around corners, edges, or openings after all full panels have been installed. To make precise cuts, use a utility knife or a specialized cutting tool advised by the panel manufacturer. Take your time to make accurate cuts.
Step 6: Install Trim Pieces
To fill in gaps and give a finished look, install the components like corner trims and edge profiles. Trim pieces shield exposed panel edges as well.
Step 7: Caulk And Seal
Use a silicone caulk along all seams, edges, and corners. By doing so, a waterproof seal is made, preventing moisture from entering the space beneath the panels. For a tidy finish, smooth the caulk with your finger or a smoothing tool.
Endnote
To update the appearance of your bathroom, installing bathroom wall panels over the existing tiles might be a viable and useful option. It has advantages including low disruption, cost savings, and moisture resistance, however, for a successful outcome, rigorous surface preparation, the selection of high-quality materials, and appropriate installation techniques are paramount. You can decide whether placing wall panels over tiles is the best option for your bathroom renovation project by evaluating the advantages against the potential negatives and considering your particular circumstances.


